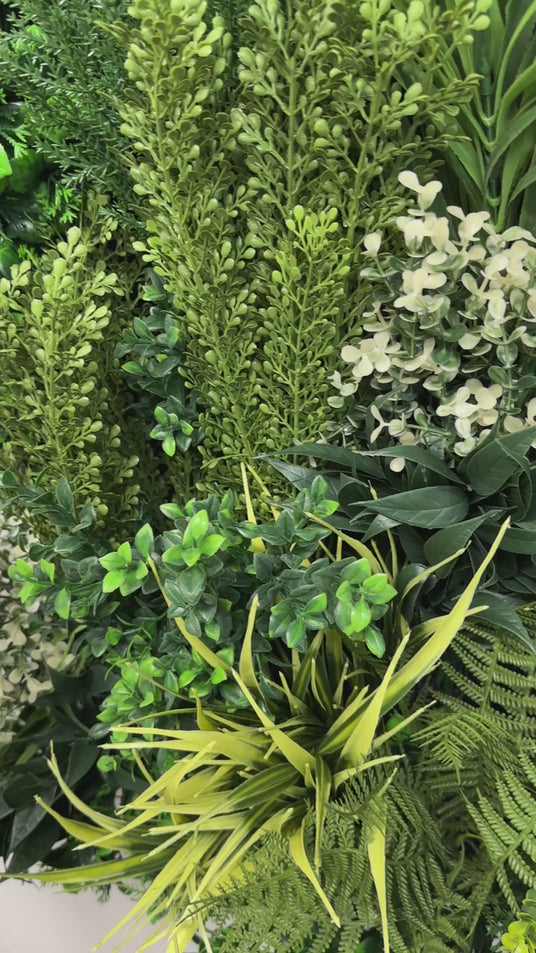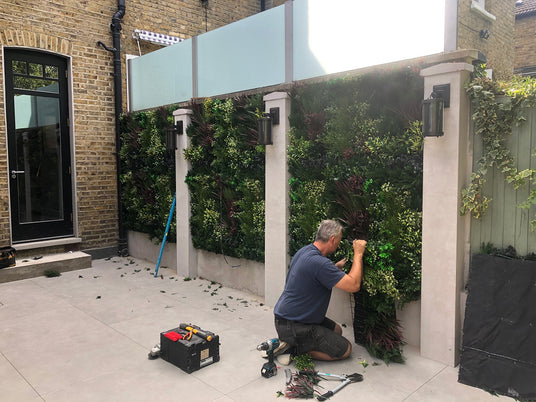
Our ultra realistic 3D plant panels will arrive flattened in the box, you will need to pull and fluff out the foliage to make the wall as realistic as possible. For each individual bush pull some of the foliage out from the rear frame and tease the leaves into shape. Be sure to tease the foliage over to hide any gaps. The video demonstrates how to do this.
Wall types
We recommend that you screw the panels directly into the wall using the appropriate screws, washers and plugs depending on the wall type.
- Plasterboard – Our preference is to screw directly into the wall using a 20mm plasterboard screw and washer with a good thread.
- Timber – Simple timber screws only. Try using a screw with a large head or washers.
- Stone wall & concrete – Pre drill a hole, add a plastic plug and screw with a washer. If you are unable to drill the wall, try cladding the wall with plywood and use timber screws.
- Wire fence – Use black cable ties to hold in place.
- Fence – Screw directly using metal screws and washers. If you don’t want exposed screws on the other side, you can pre-drill a few holes in the fence and use black cable ties to hold it all in place. If this also isn’t an option, we recommend making a timber frame to mount your panels on.
Tools required
You will need a drill, a spirit level and a ladder if working at height as well as plenty of screws and washers. I would recommend 6 screws and washers per 0.5 m2 panel , 2 along the top and 2 along the middle and bottom of the panel.
To cut the metal grid we recomend using small bolt cutters or a hacksaw. Just in case of any sharp edges, we recommend taping over the cut ends.

Fixing instructions
- Make sure the plants on the panels are facing upward when you hold them up to the wall. Make sure each panel is orientated the same way before fixing.
- When you begin, be sure to start from the top left or right corner and work your way across.
- Use a spirit level to mark a line for fixing points across the top of your wall.
- Fix your first panel in place using the guideline. I find it easier to mark to the position of the screws on a wall and then drill and fix the screws into the wall. Once I have done this I then hang the panels on the screws (with washers), making sure the panel is level before tighening the screws (with washers). You will have have to cut the hessian backing before hanging on the screws.
- Put your next panel in place and screw the top using your guideline to keep level.
- Repeat this process until the top row is complete.
- Once the first row is in place and fixed to the wall on the top and bottom, move on to the second row.
- Repeat until finished.


